
Visiting American Southwest was a long-awaited adventure I had been looking forward to for over a year. My work schedule allowed me to spend five weeks in this region throughout October and November 2019. My photography goal was to shoot and experience classic locations and bring home some original images. Photographing destinations that you are unfamiliar with can be unsettling, especially if you are eager to capture some great shots. Almost at the end of the trip, I wrote down eight lessons I had learned on this journey to help you succeed in your upcoming photography adventure.
Let’s get started!
Table of Contents
- 1) Focus manually at your widest aperture
- 2) Shoot your best images at dusk and dawn
- 3) Post-processing is essential
- 4) Arrive early at popular locations
- 5) Proper research and detailed planning are the keys to success
- 6) Shoot small-scale scenes and simplify
- 7) Inspect your images in the field
- 8) Don't forget about composition
- Conclusion
1) Focus manually at your widest aperture
Autofocus works great most of the time, but it may fail in low light or when your subject lacks contrast. If you don’t notice in time, your favorite images from the location can become misfocused or blurry. I have noticed that happening several times, so I’ve embraced the technique of focusing manually when shooting scenes at sunrise or sunset.
Because I shoot with a mirrorless camera, I get a live preview at my set aperture. This results in much space looking to be reasonably in focus. When I go down to my widest aperture, I see the narrower field depth, allowing me to focus precisely on my subject and then increase the aperture to the desired f stop like f/11. If you use a DSLR, you may or may not see your scene at your widest aperture; it depends on the camera manufacturer.
2) Shoot your best images at dusk and dawn
It’s no secret that sunrise and sunset are the best times to shoot because of the soft light. However, get to your location perhaps 30 minutes before sunrise and wait another 20 minutes after sunset. You can capture beautiful shots with a pre-sunrise glow and after-sunset glow that still retains highlights and shadows on the landscape, but they are not as harsh as they may be when the actual sunlight hits them. I got some of my favorite images after sunset and before sunrise, especially on clear sky days.

3) Post-processing is essential
Many scenes don’t look appealing straight out of the camera, but they come to life once you spend three minutes on them in Lightroom. If you are short on time, identify your one or two best shots from each location and only work on those.
If you struggle with post-processing in Adobe Lightroom, let me help you.


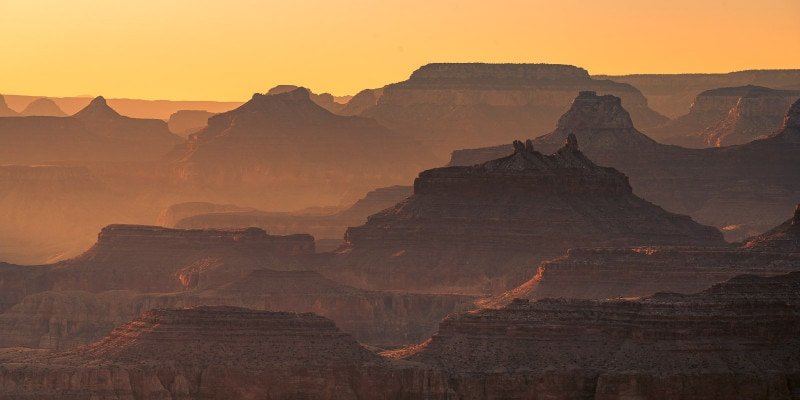
Before & After in Grand Canyon. Most of it is +40 Contrast, +48 Whites, and -68 Blacks; no Dehaze.
4) Arrive early at popular locations
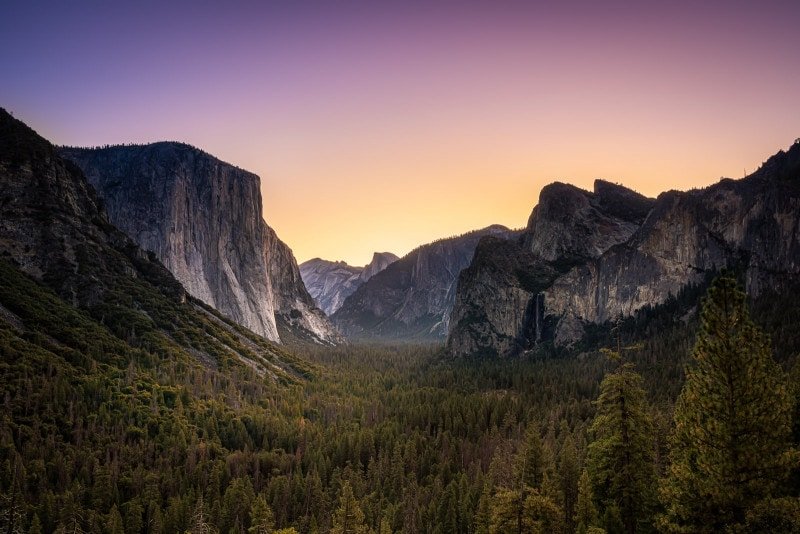
My trip led to some of America’s most popular national parks and viewpoints. My group and I needed to be at locations for sunset and sunrise (not as much, though) early enough to be among the first ones to arrive to secure good spots. Not that there is not enough space – for viewing there’s plenty but for photography without serious sacrifices to your compositions, not as much. Glacier Point in Yosemite, Dead Horse Point, or Horseshoe Bend are some notable examples where showing up early is highly recommended.

5) Proper research and detailed planning are the keys to success
This rule applies in general, but moreover, at locations, you are visiting for the very first time. There are many articles on photography locations around the world; study them, boil them down to what you are interested in, study the map, figure out the best time to shoot them on PhotoPills, the direction of light, look at pictures of others on Instagram, 500px or Flickr to get inspiration and perhaps discover appealing angles you may miss otherwise. I’m not saying to copy someone else’s images. Once you are at the location, look for original shots and compositions that sets you apart from other photographers.

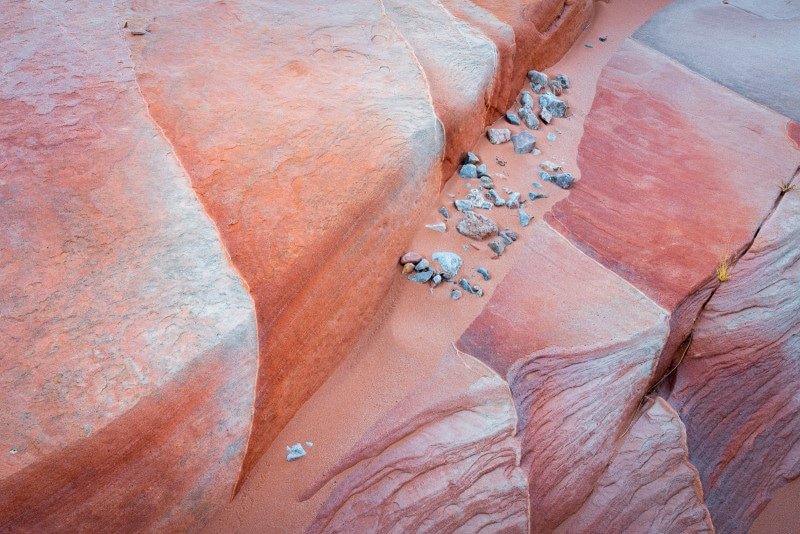
6) Shoot small-scale scenes and simplify
I am attracted by those big vistas and hero shots that could land on postcards or walls as much as everyone else. Once I get that, and when I have more time at a certain location, I try looking for more miniature, intimate scenes and details. This exercise trains your photography eye; you will start seeing unique shots nobody else captures.
7) Inspect your images in the field
I didn’t do it properly while I was shooting at Horseshoe Bend and I noticed one nasty lens flare later that evening when I viewed my shots on my iPad. Sometimes lens flares are not disturbing, sometimes, they are. Sometimes, they are small and easy to remove in post-processing, and sometimes not. It would have taken me a long time to remove them, so I decided to go there again the day after (which is a luxurious option when traveling, often, you don’t get a second chance).
When shooting into the sun, to eliminate lens flares, don’t use filters, or at least make sure that both filters and your lens are dust-free. If you still get a lens flare, set your camera to manual mode and shoot precisely at the same exposure setting and composition of another picture where you hide the sun behind your finger, and the lens flare disappears. In Photoshop, you layer these two images on top of each other and mask out the lens flare using the second shot. Easy.
It doesn’t need to be a lens flare; it can be a raindrop on your lens or a piece of garbage in the water. Check your frame at 100% carefully and look for possible problems. If you spot them early enough, you may still be able to eliminate them quickly without spending additional time in post-processing and trying to save the image there.

8) Don’t forget about composition
This is so easy when you stand at the edge of the Grand Canyon and the jaw-dropping six million years old scene unfolds in front of you for the first time. Don’t get carried away; no matter how amazing the view is, principles of composition still apply. I have fallen for this many times, but if you remember this still on location, you can quickly improve the shot. Look for strong geometrical shapes in the frame, diagonals, and leading lines, do the edge patrol to eliminate distractions along the sides of your frame, and so forth.
Conclusion
I hope you have found some useful insights in my lessons that will help you achieve your goals on your next photo trip. I’d appreciate it if you would comment on which areas you would like me to get more detailed and deliver in-depth content. Also, let me know what you learned on your recent photography trip. I believe that sharing knowledge in a photography community benefits everybody to become a better photographer, so don’t be shy.